
Tutorial for UUV simulator
Content
What is UUV sim?
UUV sim stands for Unmanned Underwater Vehicle (UUV) Simulator. This simulator is a plugin and ROS application the allow simulation for of (UUV) in gazebo.
According to their specification, the following features are implemented inside the simulator:
- Implementation of Fossen’s equation of underwater vehicle motion.
- Lift and drag plugin for simulation of fins.
- Sensor plugins.
- Simulation of 3D current velocity models.
- Thruster modules with implementation for thruster’s angular velocity to output thrust force.
In addition, it contains a baseline of controllers for AUVs and ROVs, gazebo worlds and a set Vehicle models.
Installation
The first step is to install ROS (Kinectic/Lunar/Melodic). ROS melodic
Once ros is installed, the packages installation is straightforward:
sudo apt install ros-<distro>-uuv-simulator
That’s it!
Get started
We assume that you already used ROS before, that you understand the concept of nodes, topics, subscriber and publisher. If you don’t know anything about ROS we advise you to go through ROS’s tutorial.
So, let’s get started.
First we are going to launch an empty underwater world:
roslaunch uuv_gazebo_worlds empty_underwater_world.launch
or you can run:
roslaunch uuv_gazebo_worlds ocean_waves.launch
You should have an output similar to the following image.
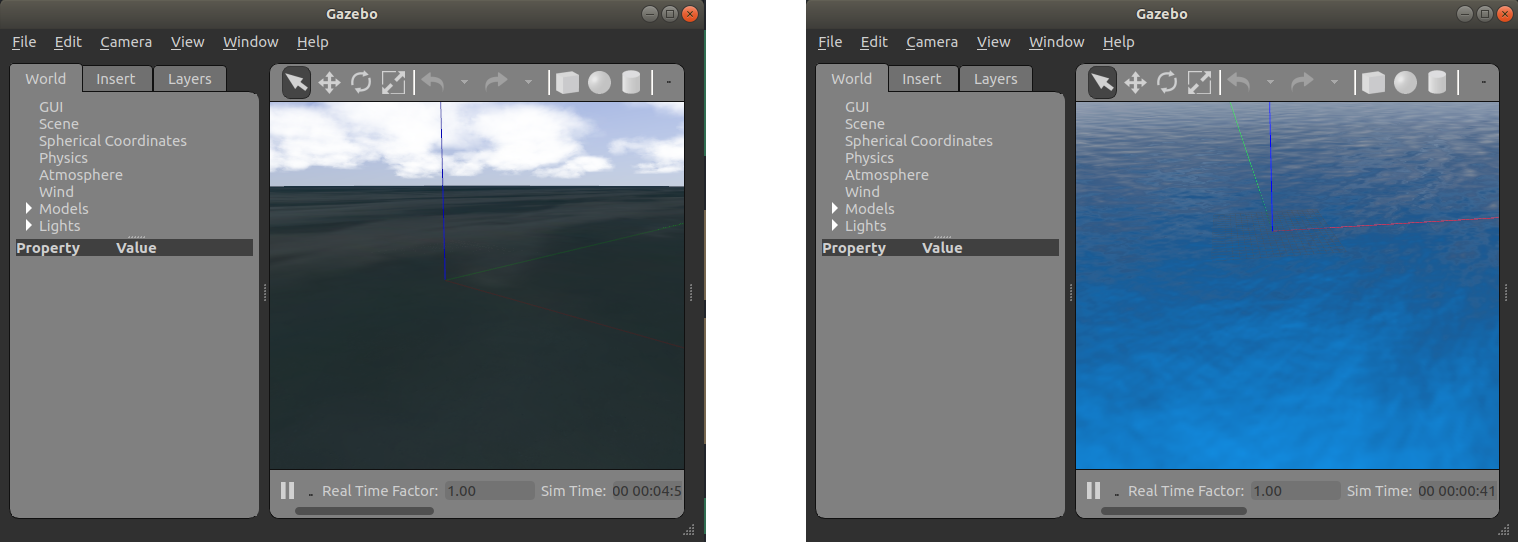
Leftmost: Empty world.
Rightmost: empty world with waves.
To spawn a vehicle launch a world as discussed previously and run:
roslaunch uuv_descriptions upload_rexrov.launch mode:=default x:=0 y:=0 z:=20 namespace:=rexrov
Now lets try to run a controller. Let’s start simply with a PID controller.
First let’s run the simulation demo of the PID controller. This demo runs with the rexrov2 UUV. To do so simply run:
roslaunch rexrov2_gazebo start_demo_pid_controller.launch
This launch file will create an instance of the rexrov2 UUV in a world with waves. For now the vehicle is now static. We need to send some reference points and observe the behaviour of the drone.
To send waypoints to the controller, UUV sim exposes utile functions to send waypoints to the controller:
roslaunch uuv_control_utils send_waypoints_file.launch uuv_name:=rexrov2
This launch file will send the default waypoint file to the controller. Other waypoint files can be passed as argument to the launch file and must respect YAML formatting and should contain the following elements:
    # inertial frame
    inertial_frame_id: world
    # The list of waypoints
    waypoints:
      -
        # First point. X Y Z coordinate.
        point: [X Y Z]
        max_forward_speed: V
        # Heading value
        heading:
        use_fixed_heading: True/False
      -
        # next point
Now that we know how to do this we will analyse the performance of this simple PID controller. We will look at a change in payload, a change in the disturbances and change of the PID gains.
Before that we need to be able to record and analyse the results. Fortunately, the launch file start_demo_pid_controller allows for an argument called record which uses the rosbag feature to record data.
Note: when using rosbag in a launch file, the recorded file, unless another path is specified, is stored in ~/.ros.
So, let’s try it out:
$ roslaunch rexrov2_gazebo start_demo_pid_controller.launch record:=true
In another terminal send the waypoints:
$ roslaunch uuv_control_utils send_wapoints_file.launch uuv_name:=rexrov2 filename:=~/Absolute/path/to/waypoints_file.yaml
Observe the AUV having its little walk then stop the different launch file (crtl-c).
To observe the data we will use PlotJuggler. Install via
sudo apt update
sudo apt install ros-<distro>-rosbag
Or from source.
Visualisation
Now let’s see what we got. Launch PLotJugger
rosrun plotjuggler PlotJuggler
and bring in the trajectory and the the ground truth of the position. You should get something equivalent to this given that you used the 4 first points of the example waypoints.
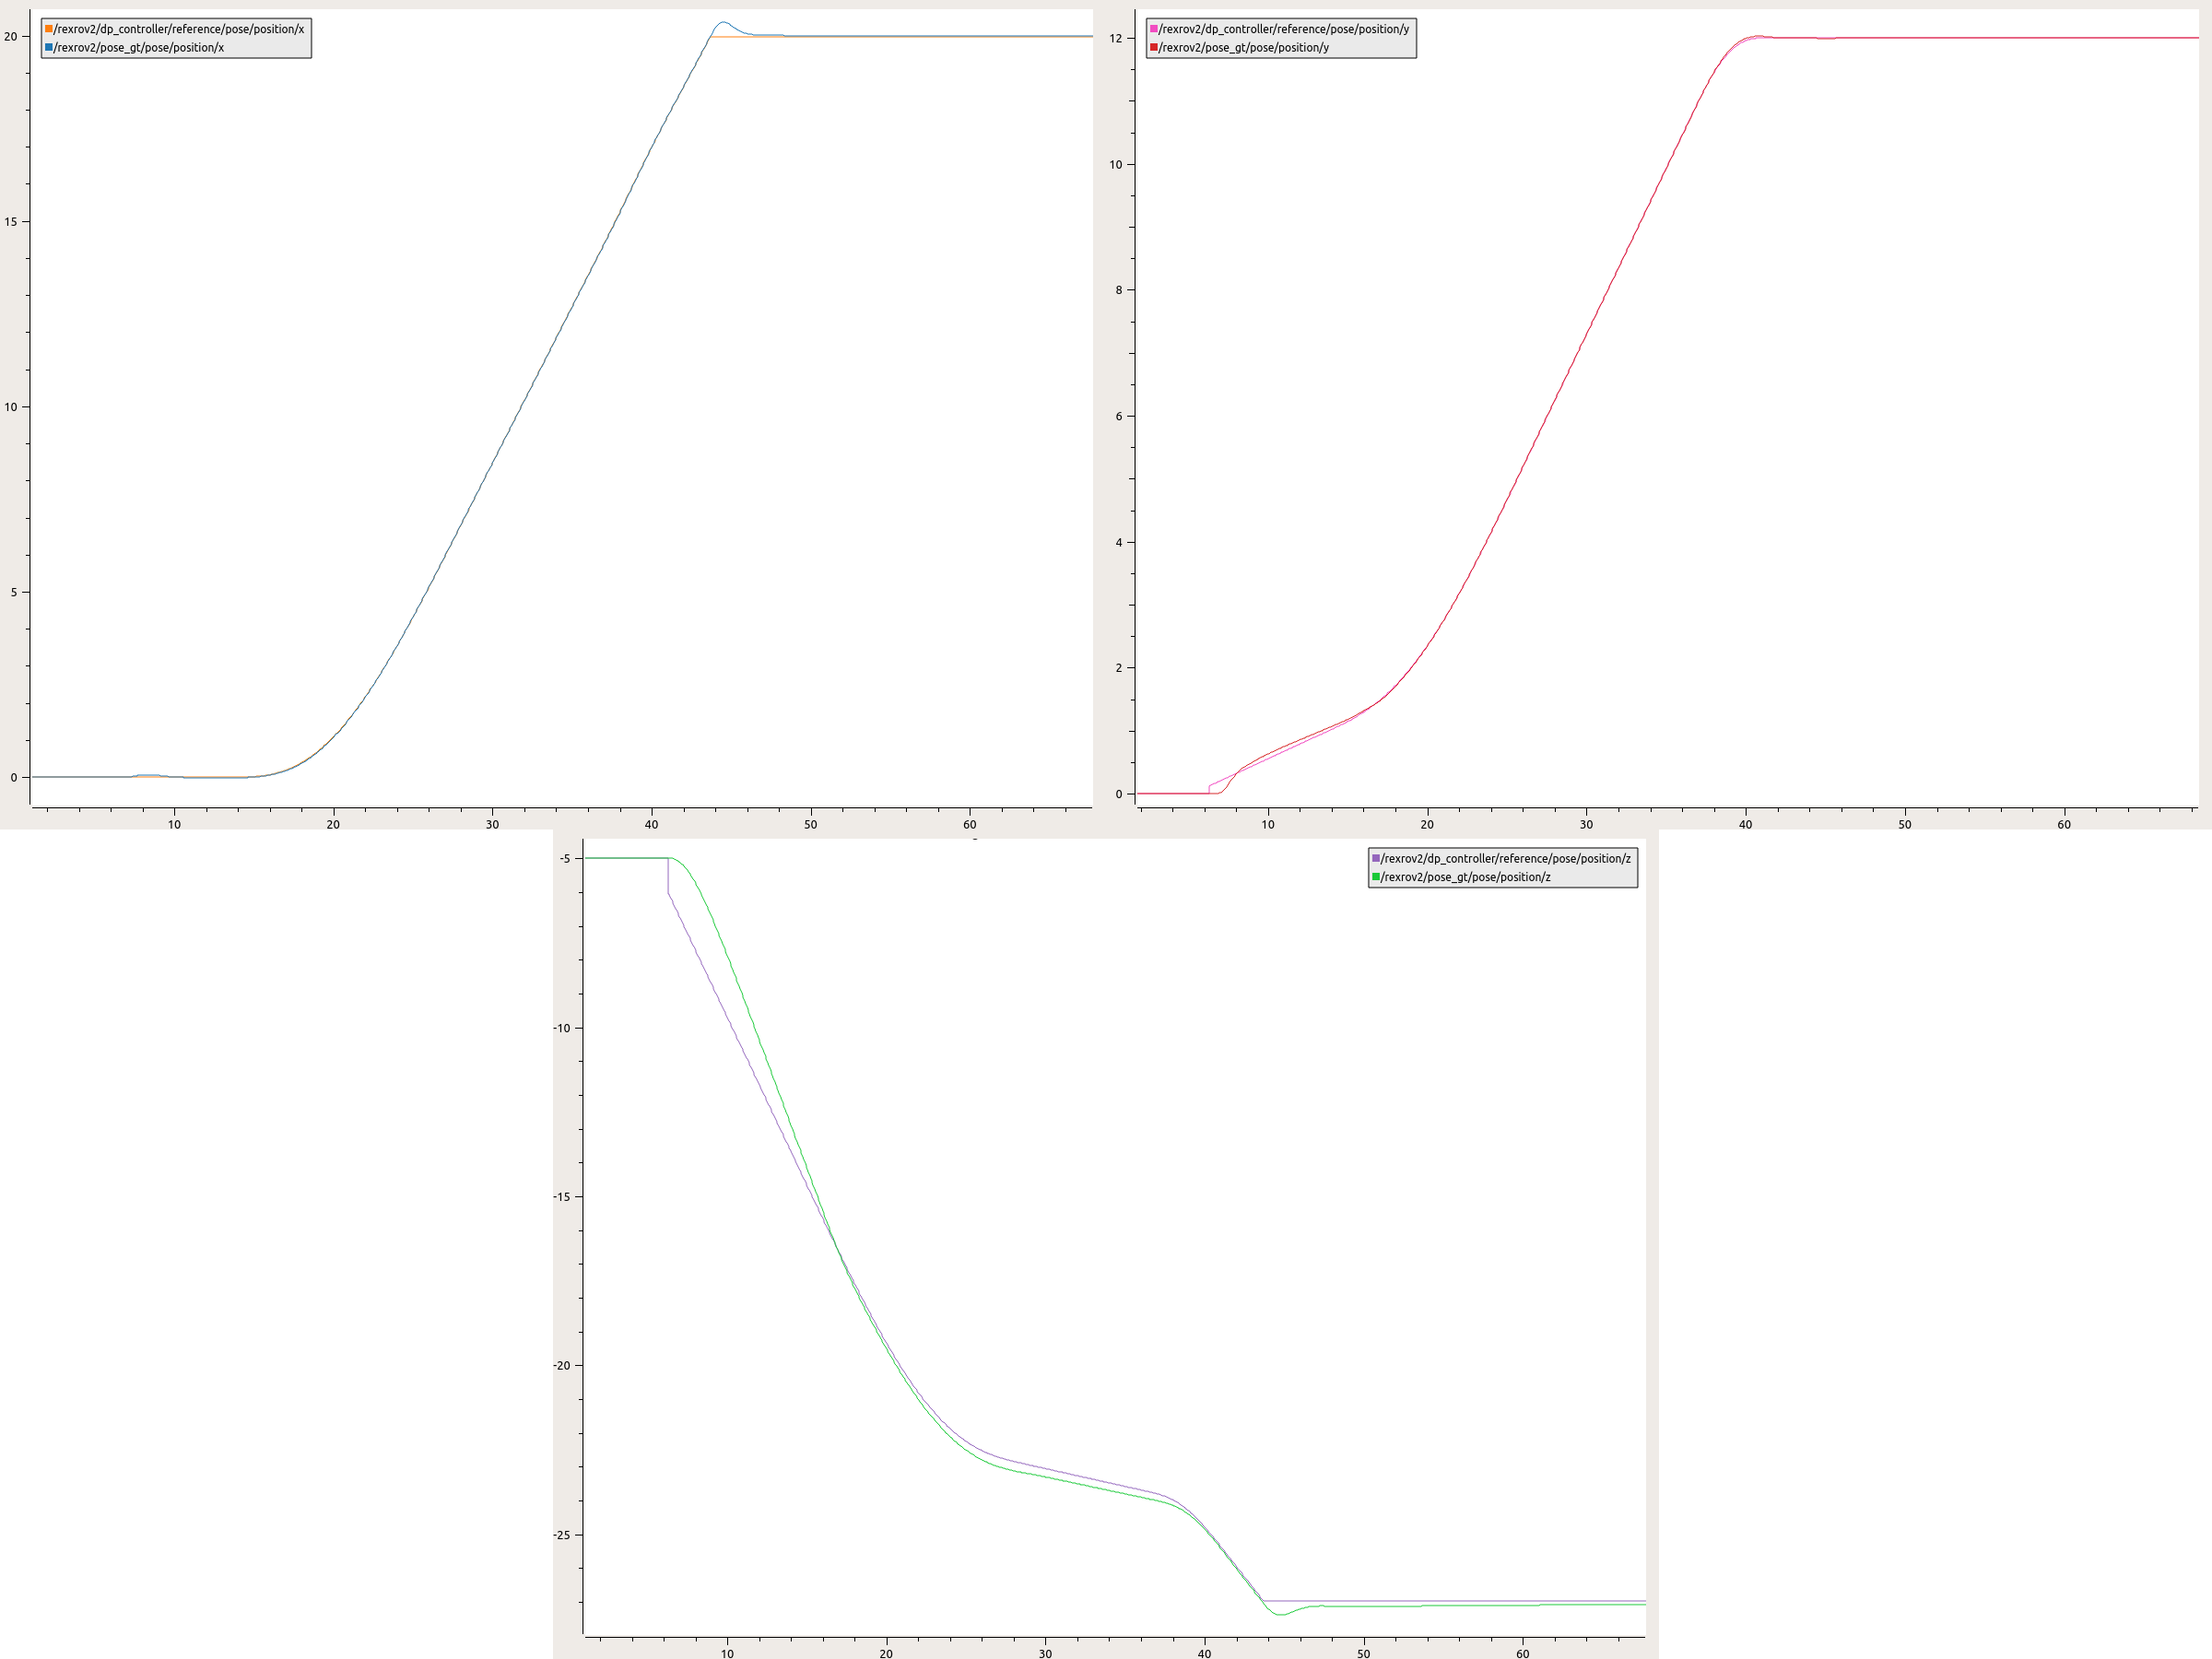
Top Leftmost: X axis.
Top Rightmost: Y axis.
Bottom: Z axis.
This looks nice, but let’s try to mess a bit with it and see how it behaves in various conditions. As part of my research I wound to find controllers that can adapt to new situation quickly whereas it is due to a change of payload, a change of buoyancy (change of water salinity), a decrease of thruster efficiency or even a damaged robot.
Even though the PID isn’t adaptive as to speak (if gains are static), we can still see how it behaves in those conditions. We will run 4 tests:
- Added mass to simulate a change in payload.
- Apply random currents.
- Change the thruster efficiency.
- Change of water salinity.
First let’s apply some constant current and some random current to see the effect on the controller.
Leave a comment
Your email address will not be published. Required fields are marked *